nasmak pm - pm recorder
context
For this project I partnered with Mila to develop a web app that makes visuals for the band Nasmak PM.
problem
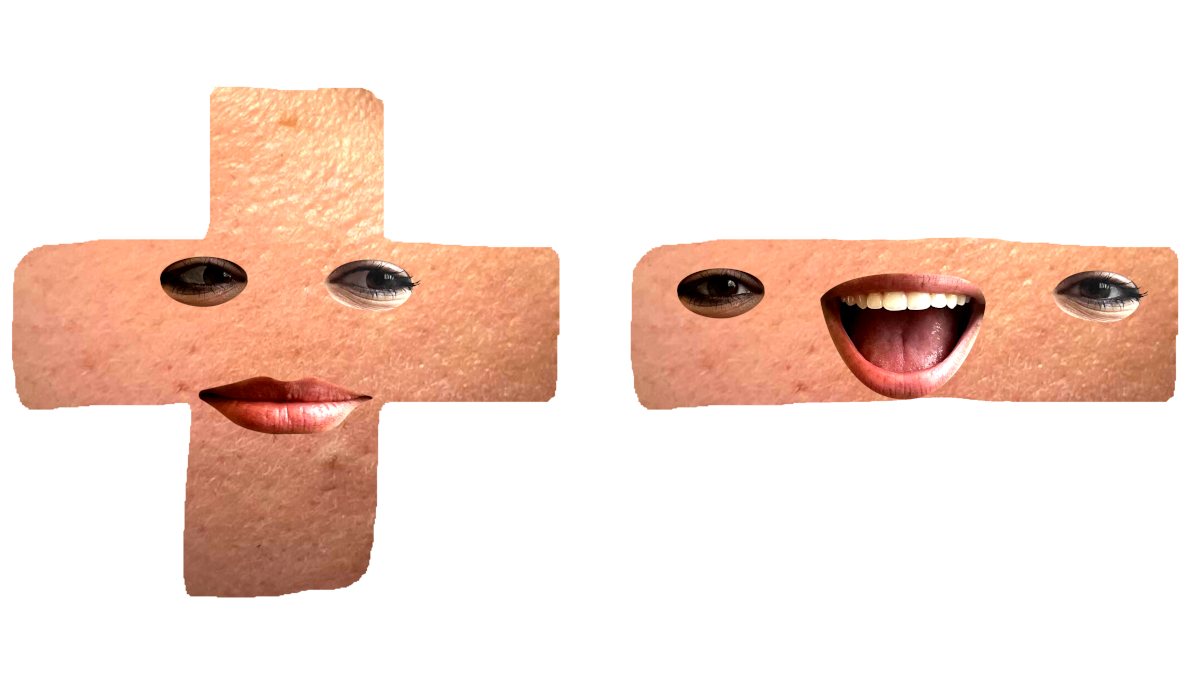
After the media campaign project, we wanted to expand on the Plusa and Minnie characters we created. The mockup videos I made required the characters to be animated by hand by placing sprites in sequence.
The cost of time to put together these animations is not worth the band's effort, as they already have to focus on music and touring which is enough work on its own. And so Mila and I came up with the idea to create a web app that allows you to generate these animations yourself.
concept
The user would be able to move a character across a canvas and control its mouth, allowing the character to lip-sync to the songs. This movements could then be recorded and exported as a video that the band could then use for their promotional material.
first prototype
preparation
Considering how ambitious this idea was, we needed to also know how feasible it was to begin with. We asked our teacher Stan for help on how we could implement a recording function using JavaScript.
He helped put together an example project with code that allowed us to record a canvas and left it up to us to figure out how to get a character to move across it, suggesting we start small with a simple shape.
Mila and I split tasks, where she would try and get a shape to move across a canvas and I would scrub the code we were given to remove any unnecessary parts.
implementation
I used ChatGPT along with resources like W3Schools and MDN Web Docs to help me understand the code's syntax and know what every line was actually doing.
Mila was successful in getting a square to move across a canvas, and so I asked if she could try turning it into a circle by holding the space, which simulated opening and closing the character's mouth.
Once we both completed our tasks, I combined Mila's code with the scrubbed recording code by placing the canvas code into the class declaration.
After changing a few variables and testing, we got it to work. We now had our first working prototype, which we called Prototype 1.0.
feedback and validation
We showed Stan this prototype and he was very pleased to see a working prototype so early into the development project, as it was the first one he'd seen.
He told us to now try adding working images in place of the shapes, and so we got to work.
second prototype
prototype 1.1
After the first prototype, Mila had already begun experimenting with replacing the shapes with images, putting together Prototype 1.1 soon after. This was a minor iteration on the first prototype where the shape were replaced with images.
We decided that the project would benefit from an overhaul in its code. It was written with shapes in mind, storing each shape in its own variable. Replacing the shapes with images works, but I wanted to find a better approach.
the approach
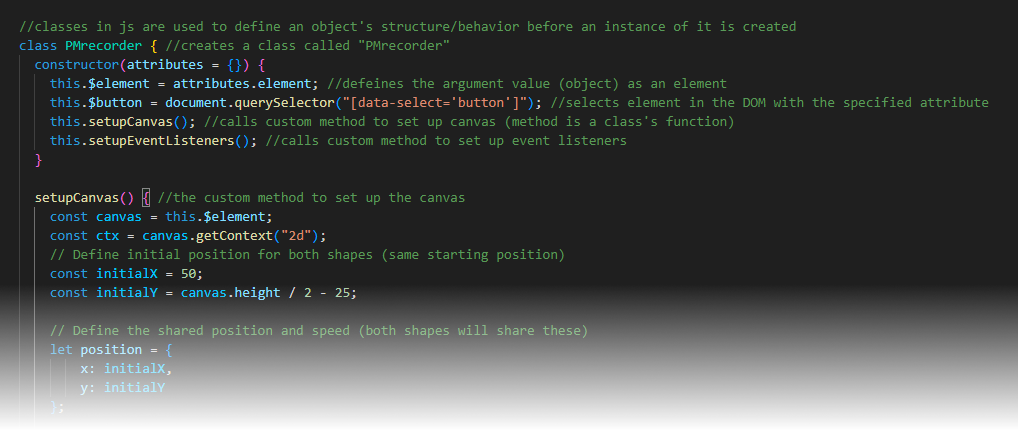
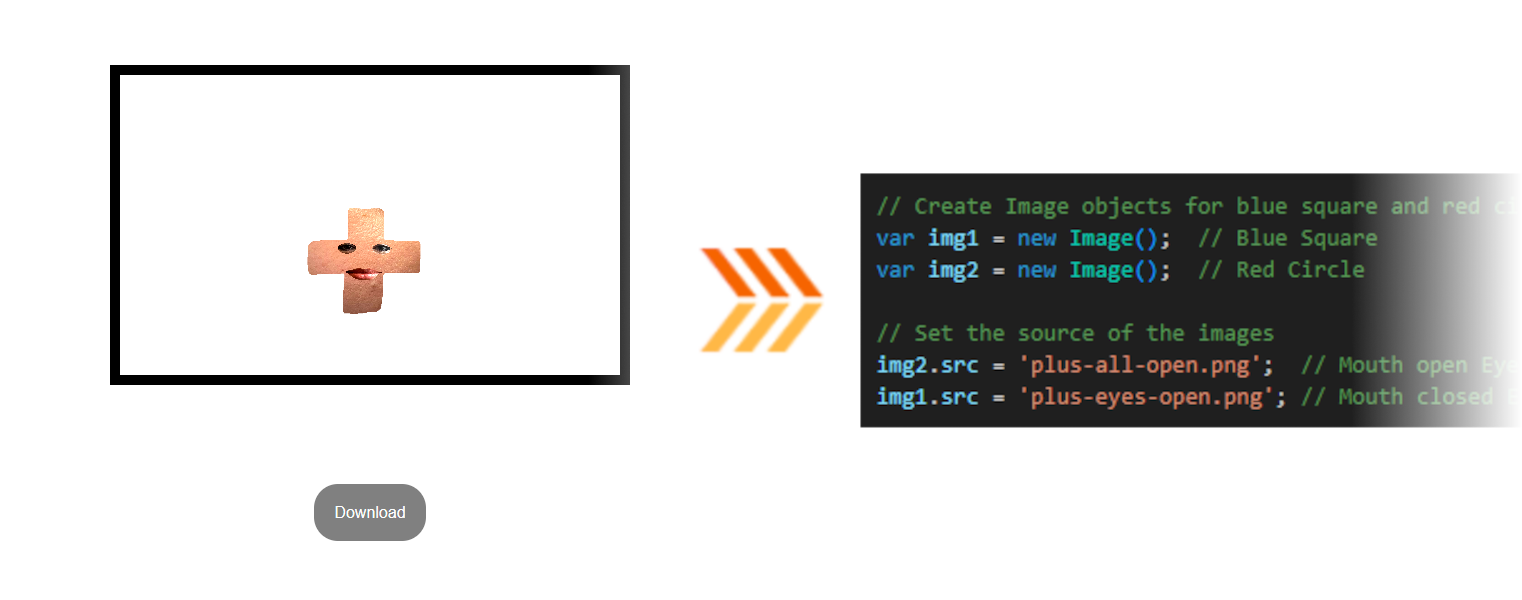
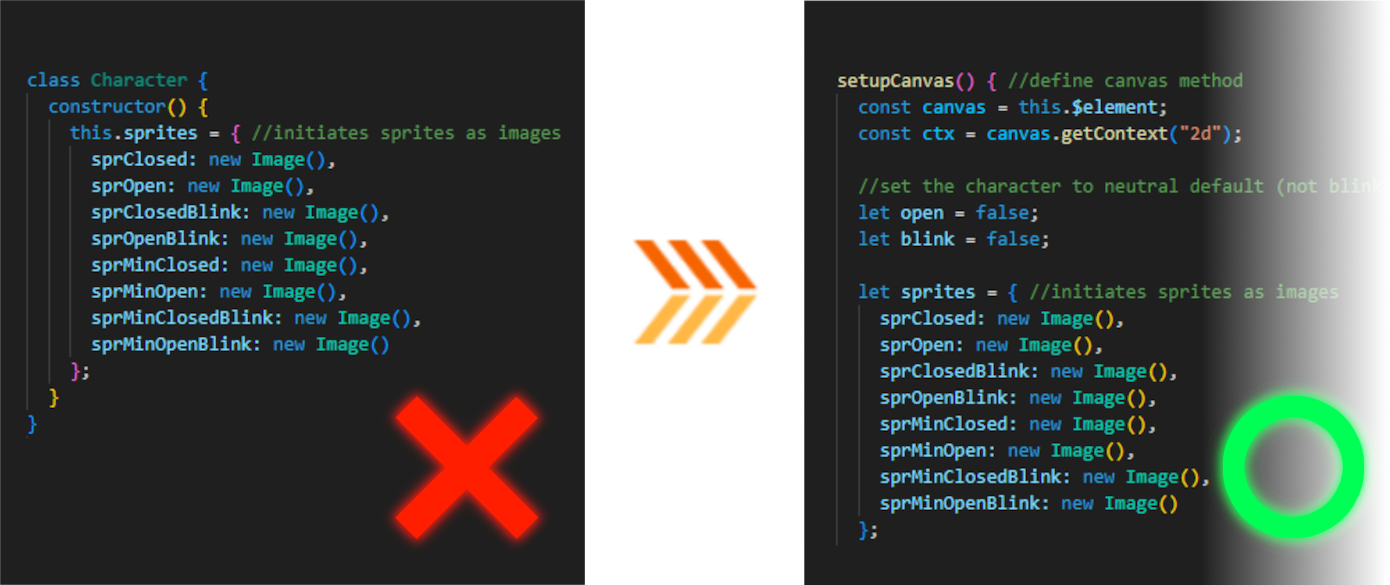
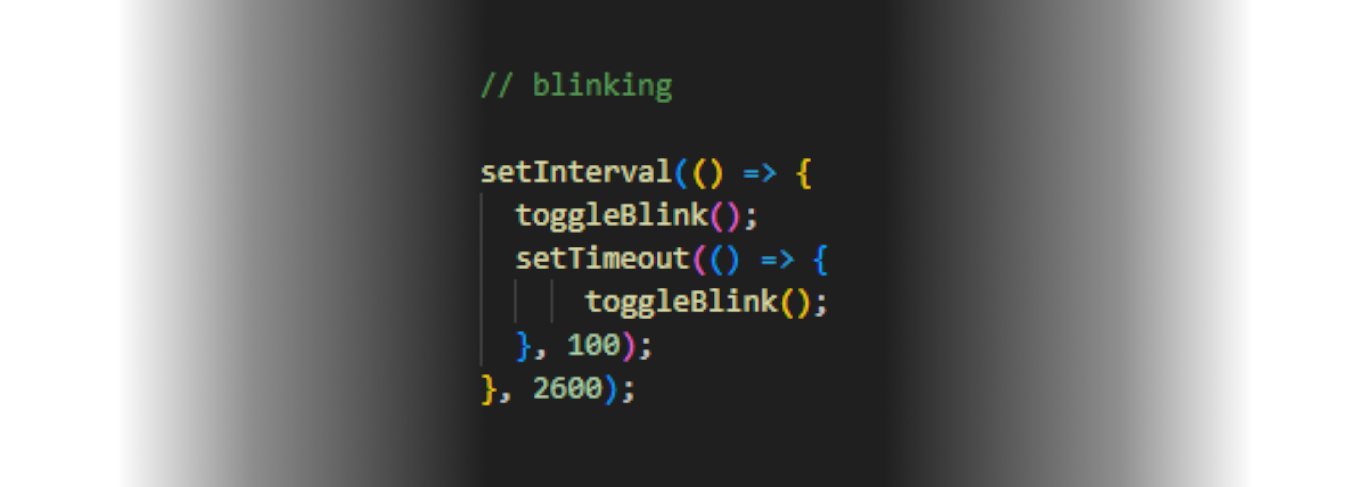
I wanted to find a way to store all the sprite images in one variable. Using the previously described resources, I found that I could do this by storing them in an object. I also wanted to figure out a way to make the character blink automatically. My idea was to have a blink variable that would toggle on and back off every 3 seconds using timeouts and intervals.
implementation
My first challenge was to retry an getting an image on the canvas again. I found myself very lost doing this as I wasn't sure how or where to declare my object. ChatGPT suggested I create another class within the already existing "PMRecorder" class that the entire project was contained in, but nothing appeared.
What I didn't know until much later was that you couldn't actually do this in JavaScript. I instead declared my object in the already existing method used to declare the canvas, and everything worked.
I used Mila's same movement code but changed the controls from arrow keys to WASD. This allowed me to instead use the arrow keys to test various parameters such as the character's speed and size by assigning those values to variables.
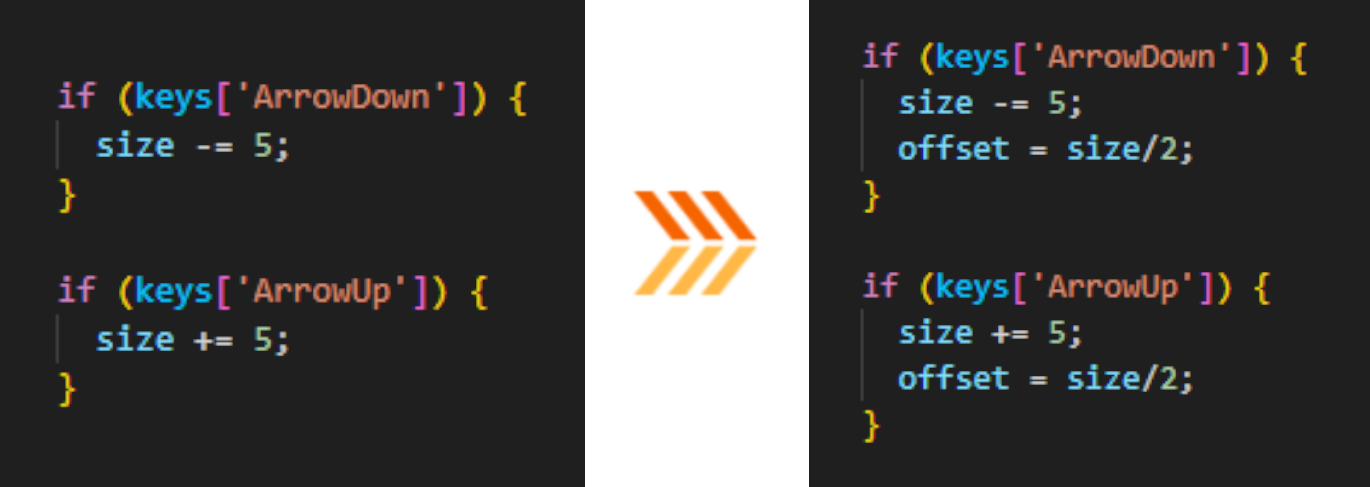
Upon doing this I also noticed that the character's point of origin was in its top left corner, meaning any change in size would happen from that point. I decided to create a variable to offset the character position by its size divided by 2. This ensured that any changes to the character would always happen from its center point.
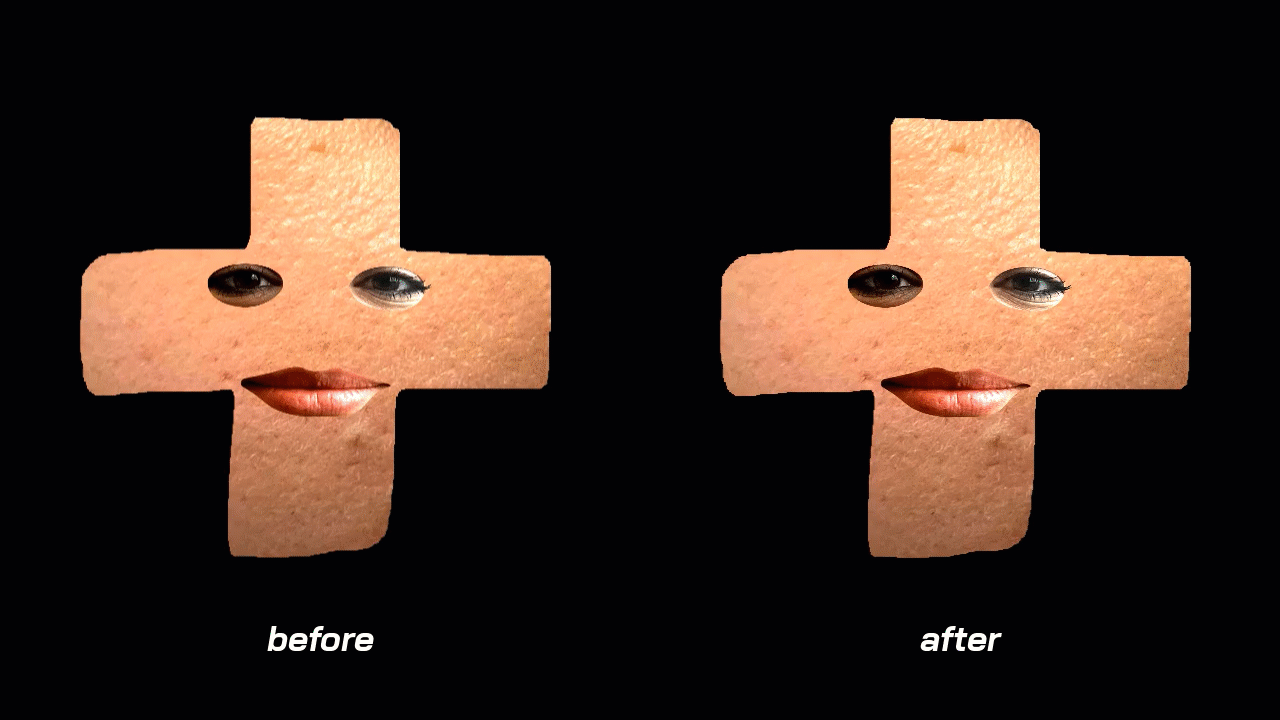
At first, my code for this didn't work, but upon debugging with the console log I found that the offset variable didn't actually update with changes made to the character. I fixed this by redefining the offset division every time the size was changed.
blinking
Making the character blink was also a slight challenge. I made use of an interval with a timeout within itself that would continue repeating.
Both the interval and the timeout set off a toggleBlink() function that simply changes the state of my blink variable. The interval makes the blink true and the timeout sets it back to false after 100 milliseconds. This repeats within the interval every 2.5 seconds.
development feedback
Our development teacher noted our well-named variables and well-structured code. He did mention that the offset calculations I made could be done separately without a variable if it isn't used much, but it's still fine.
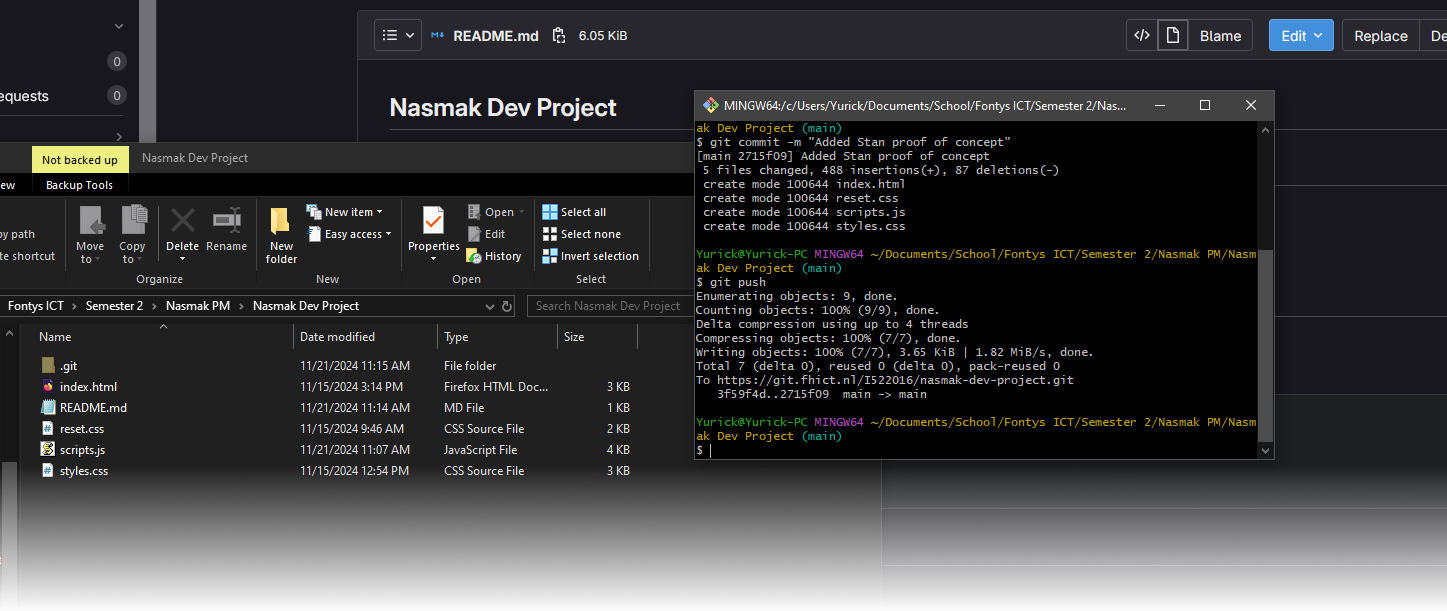
He also noted that our use of separate folders for prototype versions in our Git Repository wasn't necessary, as the git already allows separate branches natively.
ux feedback
Our UX teacher liked the idea and found that it fit the band, also noting the good iteration over multiple prototypes. She gave us some advice on user testing, saying we should test the application with older people who are less technologically inclined, as our client is now the target audience and they are old themselves.
She told us we should make the application as fun and easy to use as possible so it doesn't become a throwaway project, suggesting we add extra features such as:
- Ability to change canvas size for different platforms.
- Ability to play music.
- Instructions for controls.
user testing
instructions
Following advice from our UX teacher, Mila and I both conudcted user tests separately with someone of the target audience using an in-development prototype made after Prototype 2.0. I gave them the following instructions:
- Change the background color to green (a background color changer had been added at this point in development).
- Record a video where the character moves and opens its mouth.
- Switch the character. (character swap had been added at this point in development)
results
Upon observing the user, the following observations were made:
- In general the user had fun playing with the character.
- The user could only change the character when I told them how to do so.
- The user succeeded in both changing the color and recording.
- The user found the WASD controls difficult to get used to.
- The user asked if instructions or a tutorial would be added.
Based on these results we concluded the following:
- Most older people are not accustomed to using WASD controls.
- The inclusion of a tutorial was very needed.
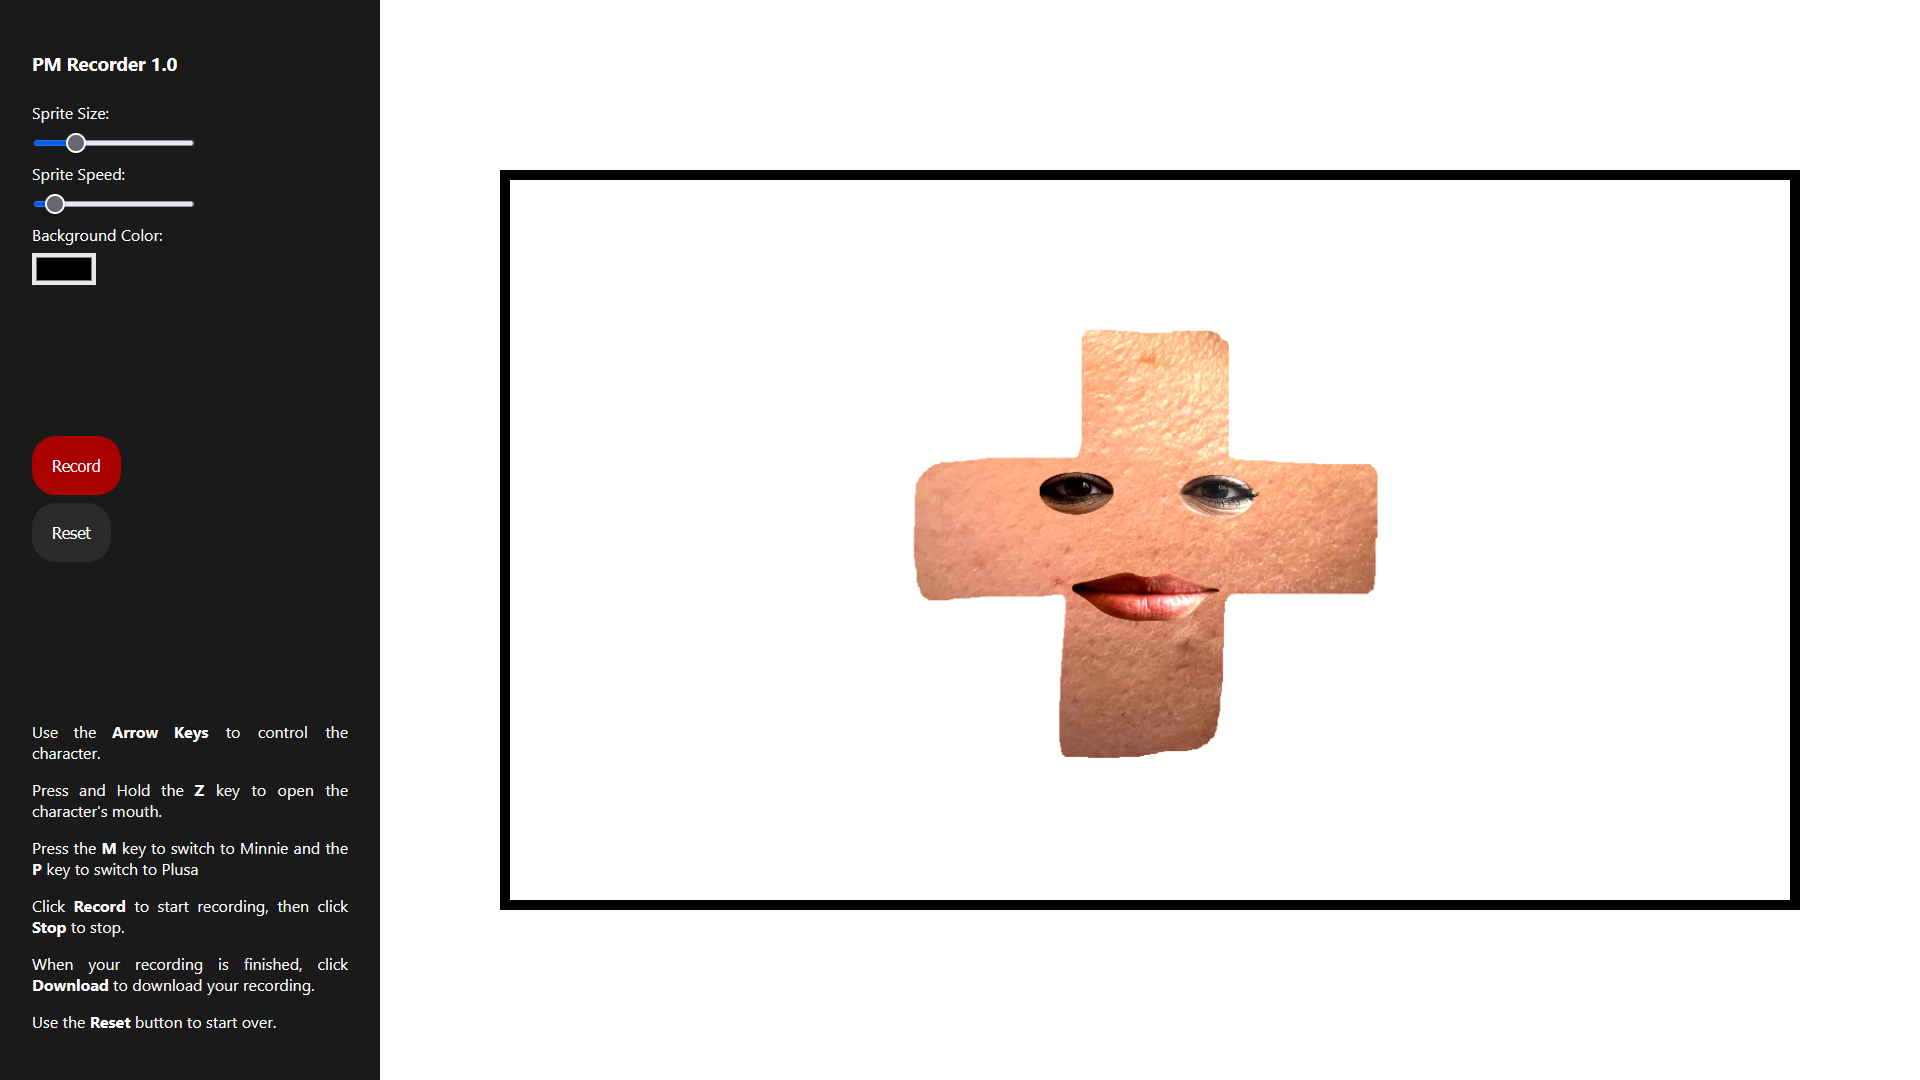
final version
features
Mila and I felt that it was more important to keep the scope down and deliver a finished product, and so we chose to keep additional features to a minimum. We did manage to squueze in a few extra things:
- A proper UI with instructions on how to use the application.
- Sliders to control size and speed parameters instead of key presses.
- Switching movement controls back to arrow keys.
- Ability to swap characters.
- Ability to change the background color.
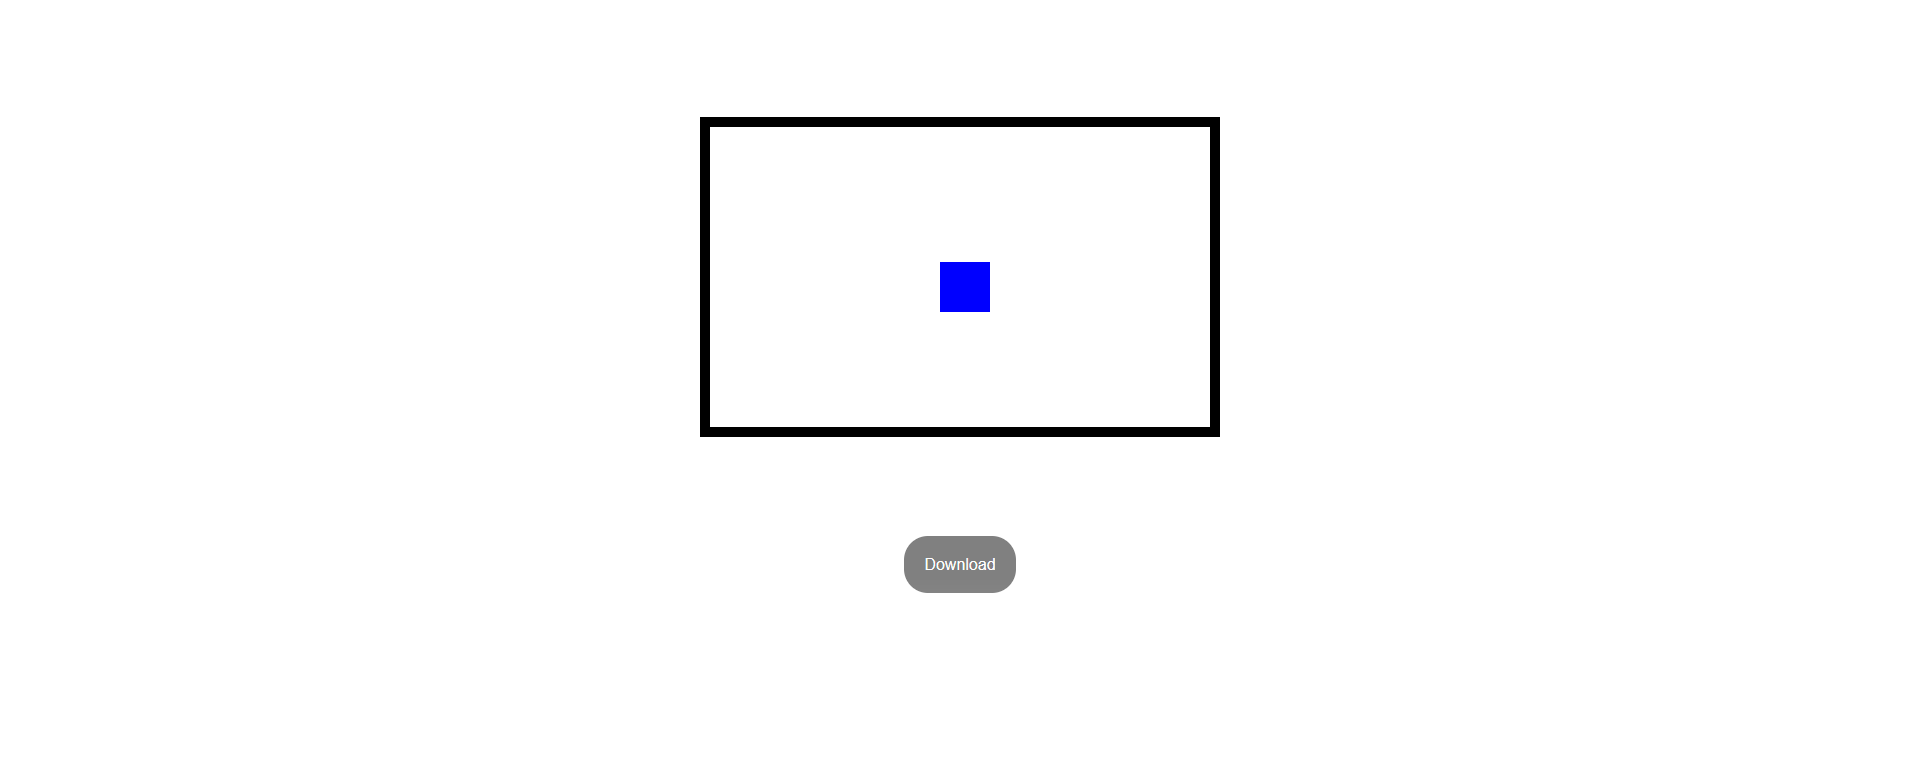
- Record, Stop, Download and Reset buttons.
feedback
Our client was very surprised with how the application turned out, and found it to be very useful, which we were happy to hear. The client also mentioned it would be a fun idea to include something like this on their website, allowing their fans to create their own videos.
reflection
I had a lot of fun working on this project. Working with JavaScript for the first time could get quite challenging but very satisfying when it worked. I wish we got to implement more features, but considering the time we had, I'm very proud of what Mila and I accomplished.
deliverables and resources
deliverables
PM Recorder Final 1.0 PM Recorder Prototype 2.0 PM Recorder Prototype 1.1 PM Recorder Prototype 1.0resources
Git RepositoryChatGPT W3Schools MDN Web Docs